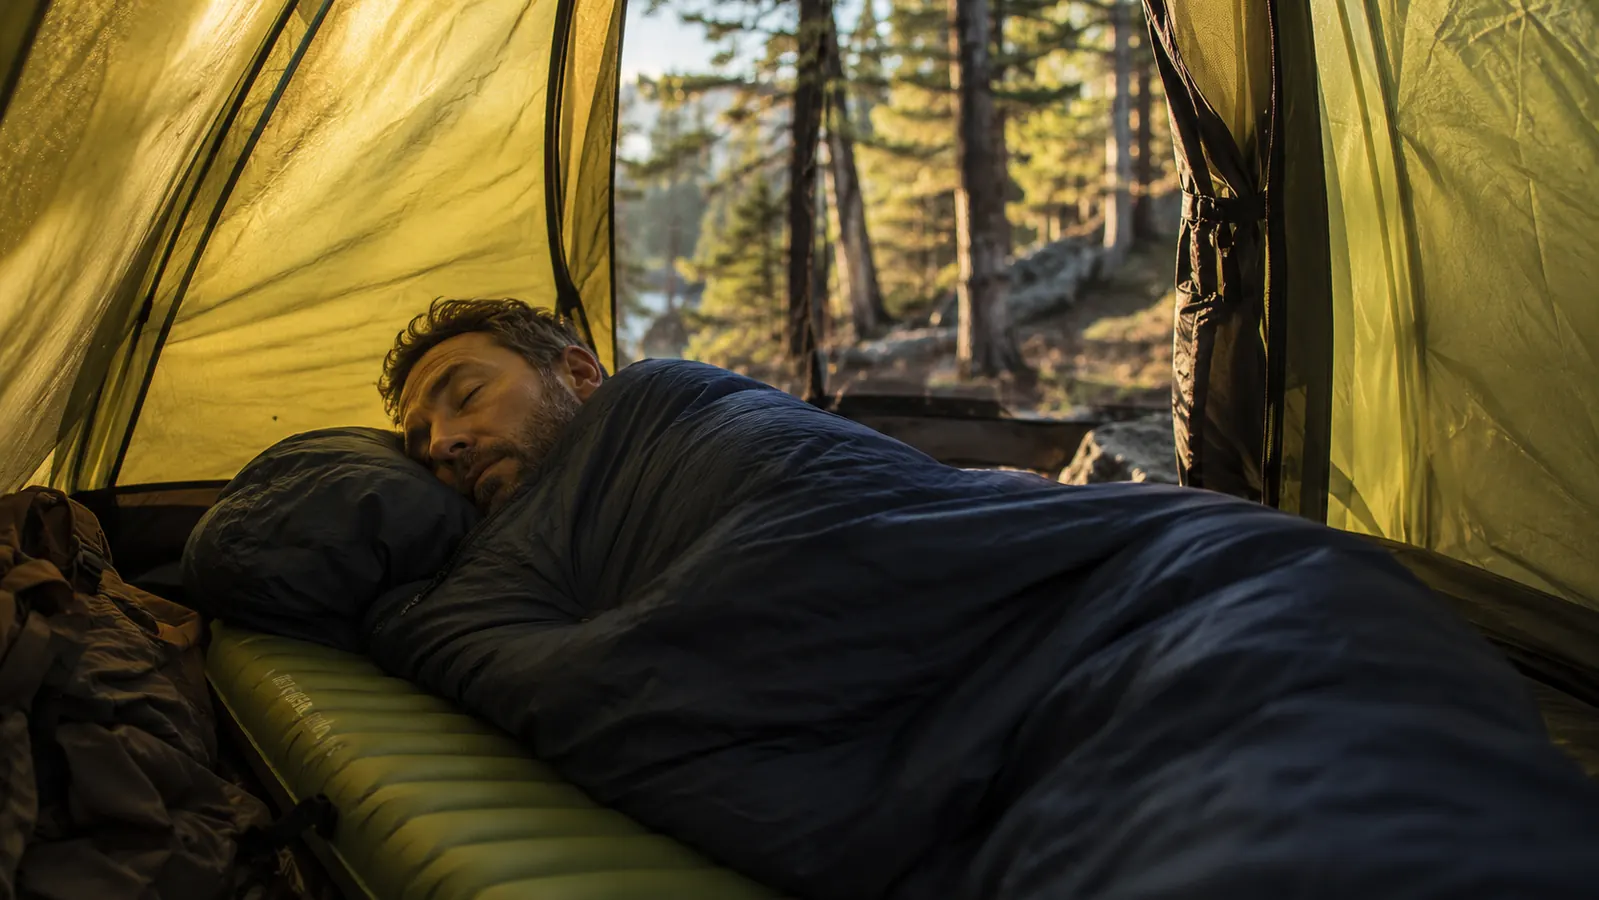
I have driven four hours to a campsite, set up in the dark, and then spent the night staring at the tent ceiling because my hips were grinding against packed dirt through a foam pad that had no business calling itself camping gear. By Saturday morning I had a stiff back, no patience, and a strong opinion about sleeping equipment. If that sounds familiar, this guide is for you.
Bad camp sleep is almost never about the sleeping bag. It is almost always about what is between you and the ground. Cold seeps up from below far faster than it falls from above. Hard or uneven ground creates pressure points that wake you every time you roll over. Fix those two things, in the right order, and camping nights go from something you endure to something you actually look forward to. Here is the exact five-step system I use, with the Sleepingo inflatable sleeping pad as the foundation.
Still waking up stiff? This is the pad most campers swap to first.
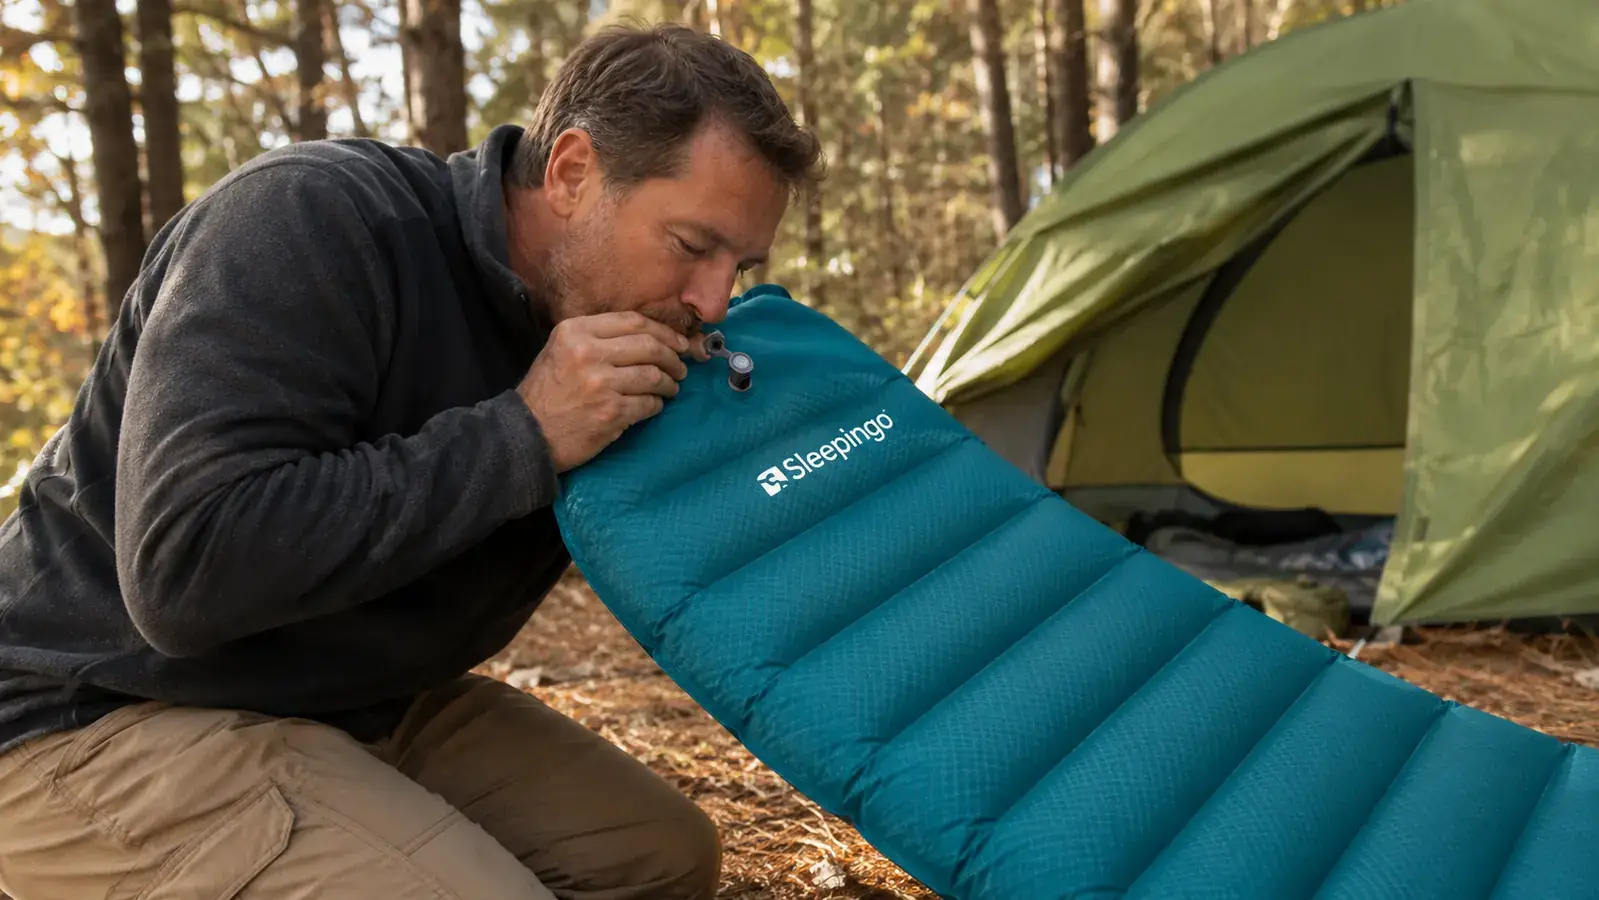
The Sleepingo Ultralight Inflatable Sleeping Pad packs down to the size of a Nalgene bottle, inflates in about 10 breaths, and puts nearly two inches of air cushion between you and the ground. Rated 4.3 stars across more than 34,000 reviews. Check the current price on Amazon before your next trip.
Amazon Check Today's Price on Amazon →Step 1: Clear and Level Your Tent Footprint Before You Pitch
The biggest mistake I see at every car campsite is people pitching their tent directly on whatever the ground looks like when they arrive. Pinecones, small roots, gravel, and that one rock you swear you cannot feel through the tent floor and the sleeping pad and the sleeping bag will all find you at 2 a.m.
Spend five minutes before you pitch. Use your boot to sweep debris out of the tent footprint. If the site has a slight slope, identify which way it runs and plan to sleep with your head uphill. A two-degree slope is invisible when you are setting up in daylight. It becomes a full-body annoyance after three hours of sliding toward your feet. Once the ground is clear, lay your footprint or tarp before staking out the tent. That single layer adds puncture resistance and keeps moisture from wicking through.
On trips where I have access to a broom or a small hand brush, I bring it specifically for this. At primitive sites I use a tent stake to rake the worst spots. It takes almost no time and it changes the whole base layer you are sleeping on top of for the next two nights.
Step 2: Choose an Inflatable Pad Over Foam for Anything Longer Than One Night
Foam pads are fine for a one-night backpacking bivy when weight is the only variable that matters. For car camping, weekends, or family trips, they fall short in two ways: they compress over time so you lose loft through the night, and they do a poor job insulating from the side you are lying on because body weight collapses the cells. Inflatable pads solve both problems.
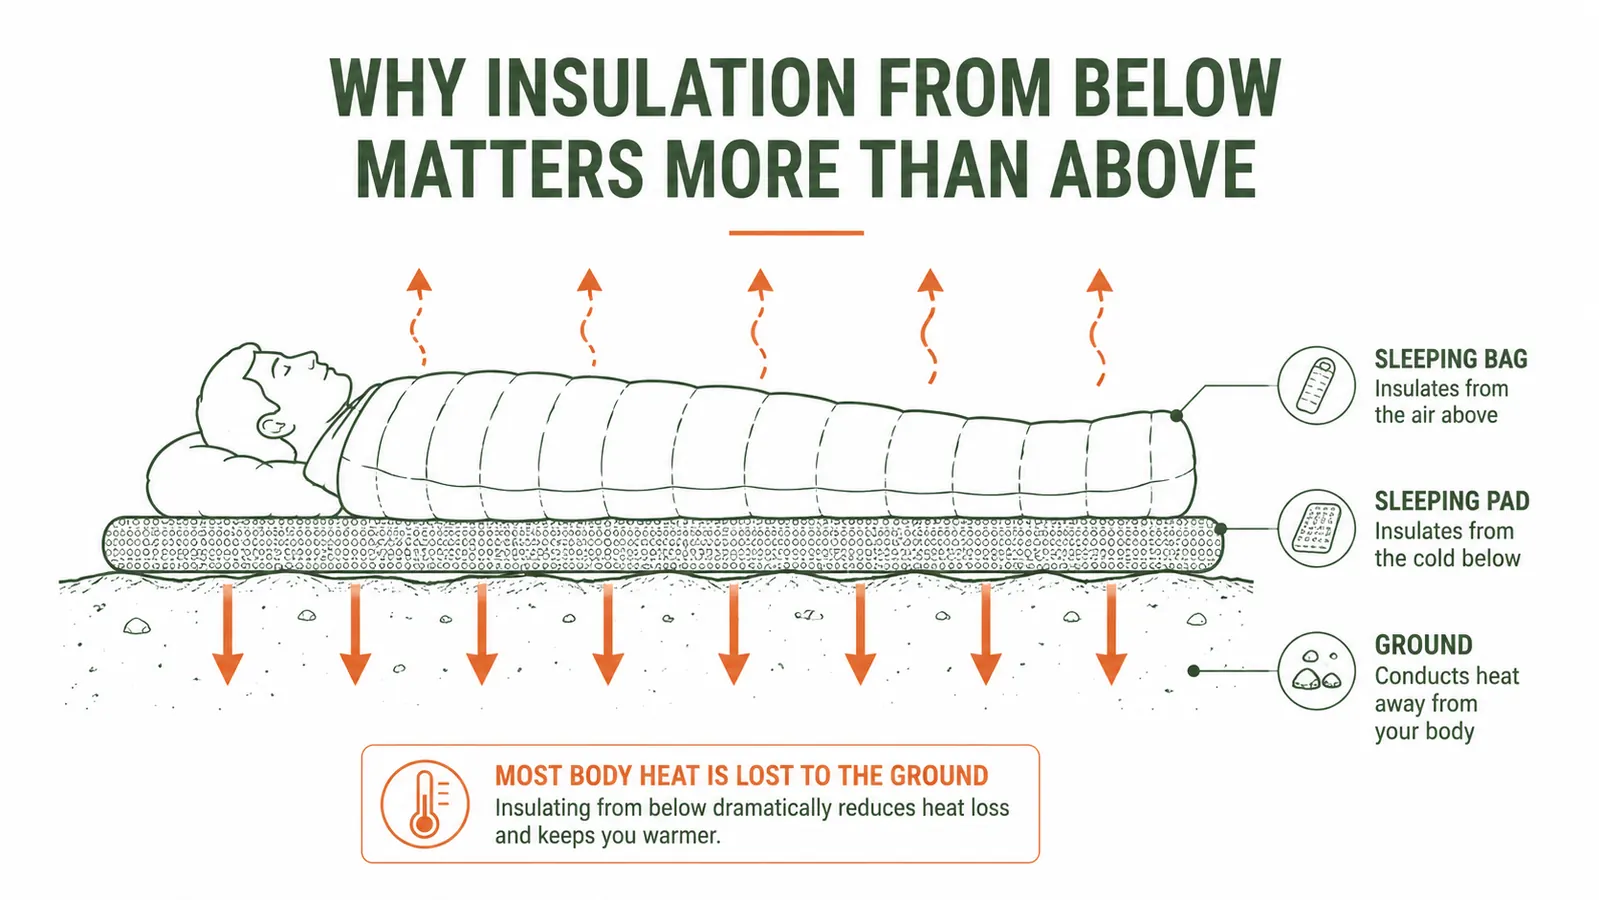
The Sleepingo inflatable sleeping pad sits at around 1.9 inches of thickness when fully inflated. That air column stays consistent through the night because you are not compressing foam fibers. It also provides a meaningful R-value from below, which matters more than most people realize. Ground temperature in a shaded campsite in May can sit at 45 to 50 degrees even when the air temperature at night is a comfortable 60. Without insulation beneath you, that cold pulls heat out of your body regardless of how warm your sleeping bag is rated.
Inflation takes about 10 to 12 breath-inflations through the twist valve. There is no pump required, which I appreciate since I always seem to forget accessories I do not absolutely have to bring. Deflation is fast: open the valve, roll from the foot end, and it packs back down to roughly the size of a 32-oz water bottle. I keep mine in the same stuff sack it shipped in and toss it in the tent bag.
Step 3: Manage Your Sleeping Temperature from the Ground Up
Here is the principle most campers learn the hard way: your sleeping bag's temperature rating assumes you have a sleeping pad with adequate insulation beneath you. A 35-degree bag sitting directly on 45-degree ground will not keep you warm at 35 degrees. The rating assumes your bottom side is protected. This is why the layering order matters.
From bottom to top: tent floor, footprint or ground cloth, sleeping pad, sleeping bag liner if you use one, sleeping bag. That order is not negotiable. I have seen people put the sleeping pad on top of the sleeping bag on a warm night thinking they would use it as extra cushion. That is exactly backwards. The pad goes below the bag so the air column is between you and the cold ground, not between you and the warm air in the tent.
On cold nights below 40 degrees, I add a wool base layer on my legs before getting into the bag. Wool keeps working when it gets a little damp from condensation, which is a real thing inside a tent on a cold night. If I am solo camping in late October in the Southeast, that combination of inflatable pad plus wool base layer plus a 20-degree bag has gotten me through nights that dipped to 28 without a miserable morning.
Your sleeping bag's temperature rating assumes you have adequate insulation under you. Without a quality pad, even a top-rated bag leaves you cold.
Step 4: Find Your Sleep Position and Build the Pad Setup Around It
Side sleepers have different needs than back sleepers on a camping pad, and most how-to guides ignore this. If you sleep on your side, your hip and shoulder take the most pressure. A pad that is too narrow will leave one or both jutting off the edge, which eliminates the benefit of having an inflatable pad at all. The Sleepingo measures 72 inches long by 20 inches wide, which is workable for most adults sleeping on their back. Side sleepers, especially those with broader shoulders, will want to check whether 20 inches is enough for your sleeping style before committing.
Back sleepers generally do better on a slightly softer inflation level. If you inflate fully and find the pad feels like a firm air mattress, let a small amount of air out until the pad conforms slightly to your lumbar curve. This takes about 30 seconds of experimentation but it makes a real difference across a full night. The goal is to feel supported, not rigid.
For couples sharing a tent, I recommend two individual pads rather than one wide double. Individual pads let each person adjust their firmness independently, and they are easier to pack. Two Sleepingo pads side by side fit comfortably in a four-person tent and stay put through the night if you position the tent door on one side.
Step 5: Control Your Sleep Environment Inside the Tent
Once the pad and layering system are right, the remaining variables are noise, light, and airflow. Ear plugs handle the first two at most campgrounds, where other campers, wildlife, and wind through trees create a constant low-level noise floor. I carry foam ear plugs in my toiletries bag on every trip. They cost almost nothing and they are the single cheapest sleep upgrade you can make.
Condensation inside a tent is a sleep disruptor that nobody talks about enough. When warm air from your breath meets the cold tent walls, moisture forms. On a cold night without ventilation, you can wake up to actual dripping inside the tent. Crack the rain fly vents even on cold nights. The small heat loss from ventilation is worth far less than waking up dry. Most modern tents have a vent at the peak of the rain fly specifically for this. Open it.
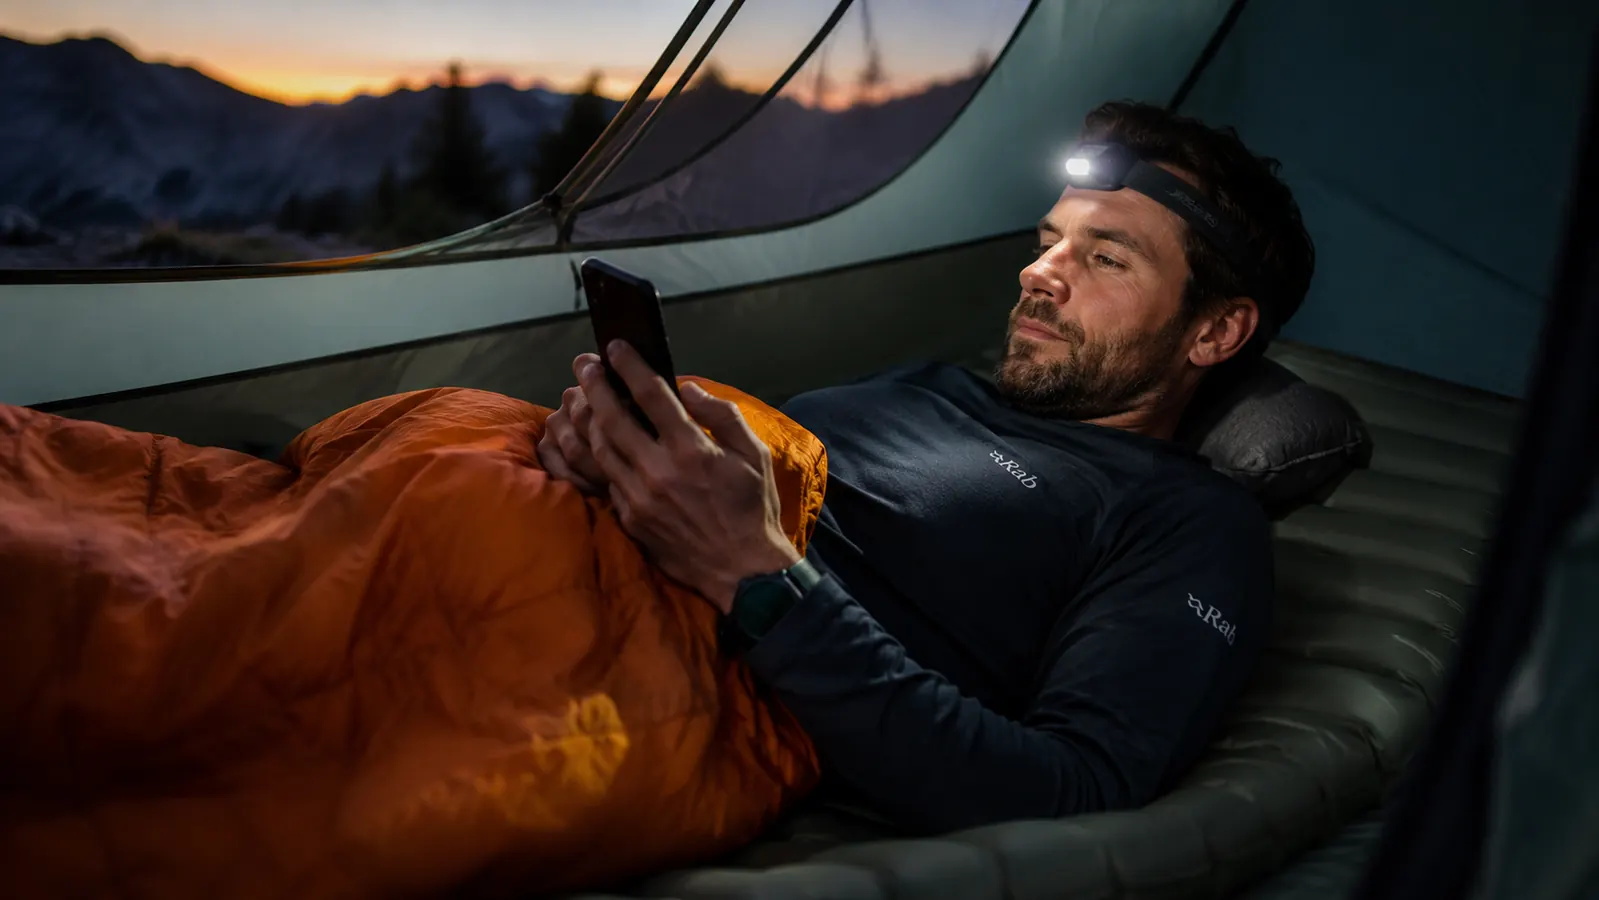
Light is the other variable. Summer camping at northern latitudes means 5 a.m. sunrise, and tent fabric, even in dark colors, lets in more light than you might expect. A sleep mask solves this completely. I resisted them for years because they felt fussy. Now I keep one clipped to my sleeping bag stuff sack so I never forget it.
What Else Helps
Beyond the five-step system, a few smaller habits compound the improvement. Avoid eating a heavy meal within 90 minutes of getting into your sleeping bag. Your body temperature rises when digesting, which disrupts sleep, and you will likely need a bathroom trip at 3 a.m. if you loaded up at 9 p.m. A moderate camp dinner and a hot drink before bed works better.
Take a short walk around the campsite after dinner. Light movement before sleep lowers cortisol faster than sitting at the picnic table and scrolling your phone, which, along with the blue light, is one of the fastest ways to guarantee a poor first night. Leave your phone in your camp shoes or the car. Campfire light is actually close to the right frequency to wind you down naturally.
If you are car camping with a partner or kids, stagger the sleep schedule slightly. Everyone trying to get into their sleeping bags and settle at the same moment creates noise and movement that delays sleep for everyone. Having one adult get situated first, then the kids, then the second adult, creates a calmer chain that works better than a simultaneous pile-in.
And if you want the deeper read on how the Sleepingo holds up over a full season of use, including durability notes and how it compares to more expensive pads, see our long-term review at the link below.
The pad is the foundation. Get this part right and everything else follows.
The Sleepingo Ultralight Inflatable Sleeping Pad is the starting point for every step in this guide. It is lightweight enough to bring on backpacking trips, durable enough for repeated car camping seasons, and compact enough to throw in a daypack without thinking twice. See current pricing and availability on Amazon.
Amazon Check Today's Price on Amazon →